
9 Steps Of Building A Container Office

Do you want to have a unique and modern office that is easy to build and eco-friendly? If so, you might want to consider a container office. A container office is a type of container house that uses galvanized steel containers as the main building material. You can use one or more containers to create a spacious and comfortable workspace for various purposes.
A container office has many advantages over traditional offices, such as:
• Cost-effectiveness: It is much cheaper than a conventional office, as you can save on construction materials, labor, and time.
• Durability: It is made of sturdy steel that can withstand harsh weather conditions and natural disasters.
• Portability: It is easy to transport and relocate, as you can simply load it onto a truck and move it to a new place.
• Flexibility: It is highly customizable, as you can design it according to your preferences and needs. You can also expand or modify it later if you want to change the layout or add more features.
If you are interested in building a container office, you can follow these 9 easy steps:
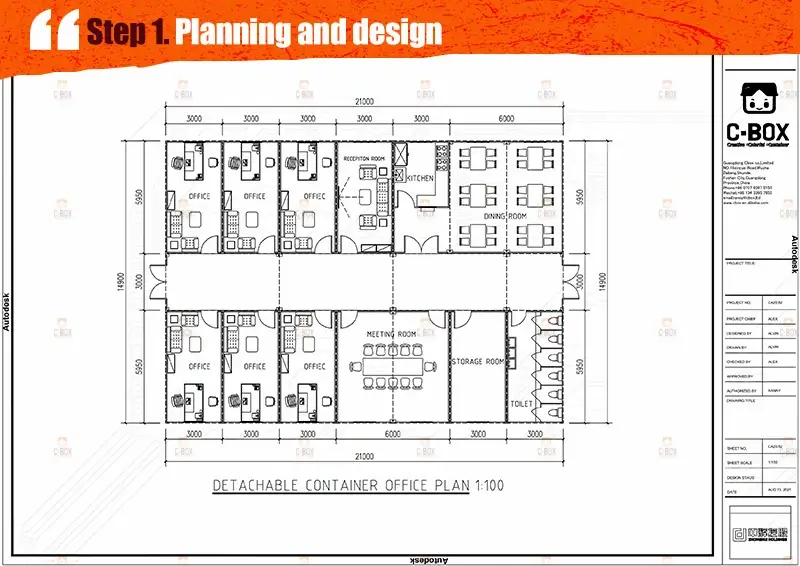
Step 1: Plan and design your container office
The first step is to decide on the layout and design of the office. You need to consider the location and size of the functional areas, such as the office spaces, the conference areas, the reception areas, and the restrooms. You also need to ensure that the container office meets your work needs and comfort requirements.
You can use software to create a 3D model of your container office, or you can hire a professional architect or designer to help you with the planning and design.
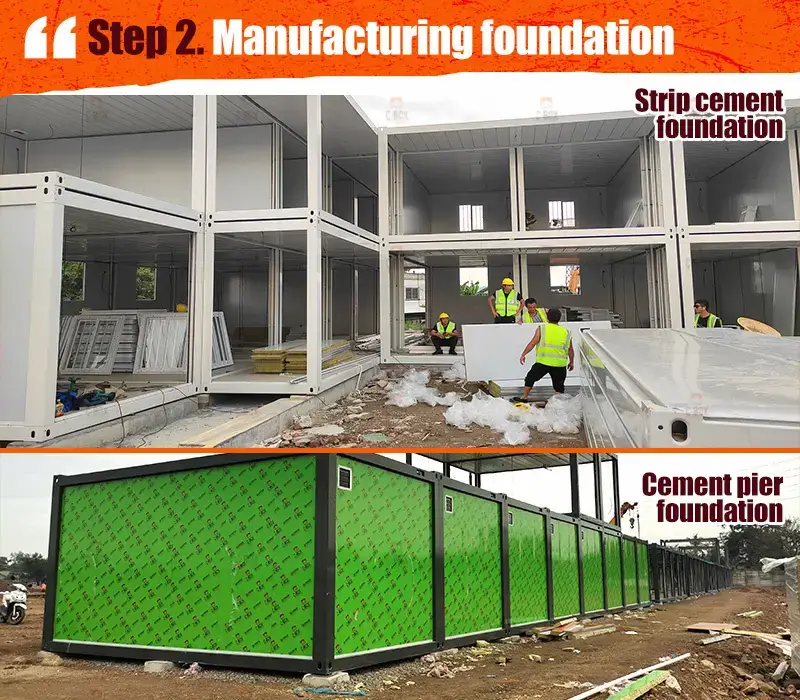
Step 2: Prepare the cement foundation
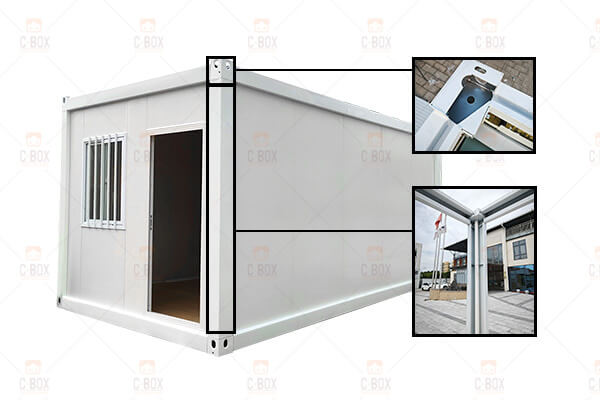
The next step is to prepare the foundation for the office. The foundation is important to ensure the balance and stability of the container office. If the land is flat and solid, you may not need a foundation. If the land is uneven or soft, you will need to make a foundation.
There are two common types of foundations for container offices: a long cement foundation and a square cement pier. You can choose the one that suits your budget and site conditions.
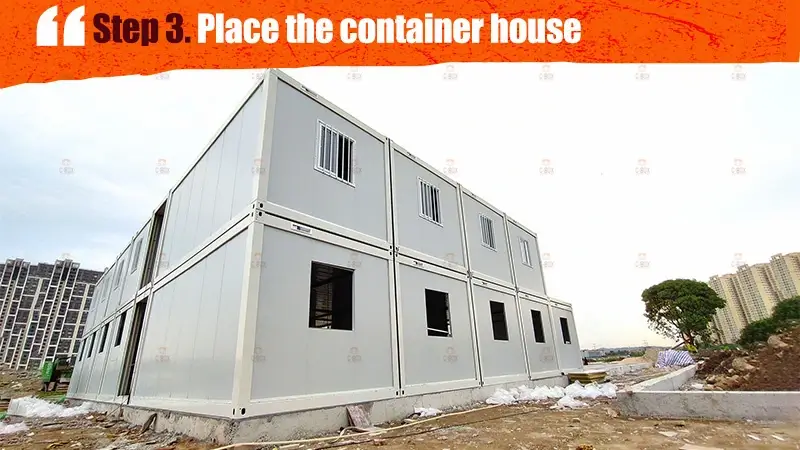
Step 3: Place the containers
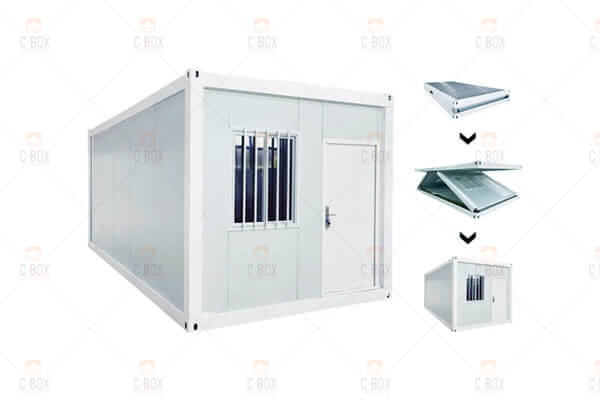
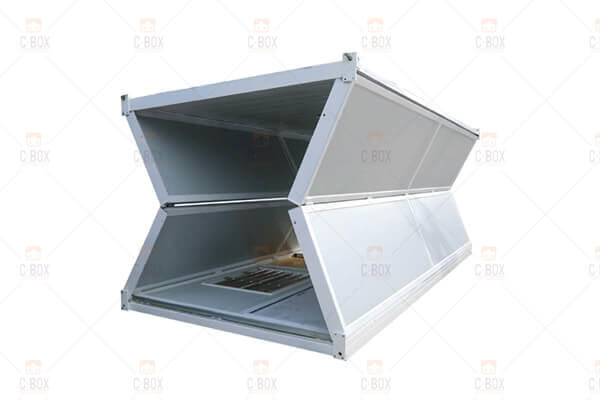
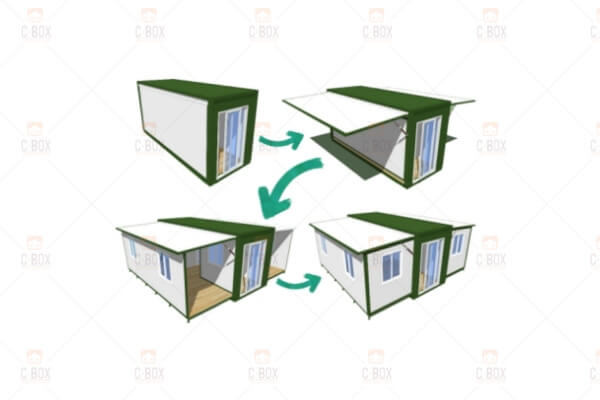
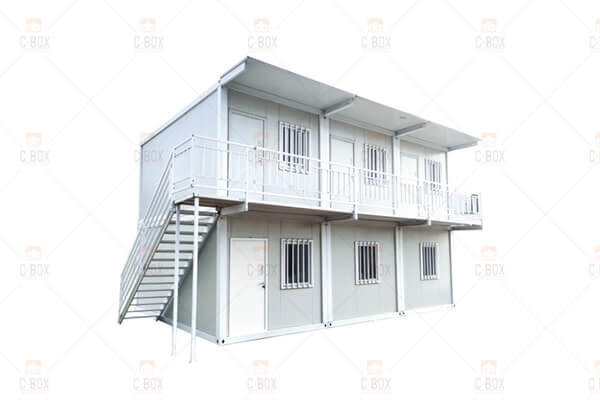
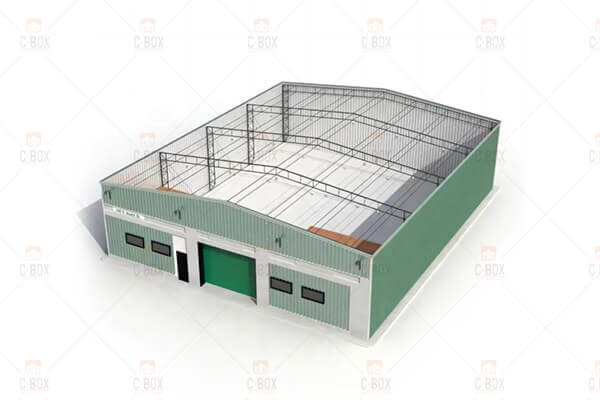
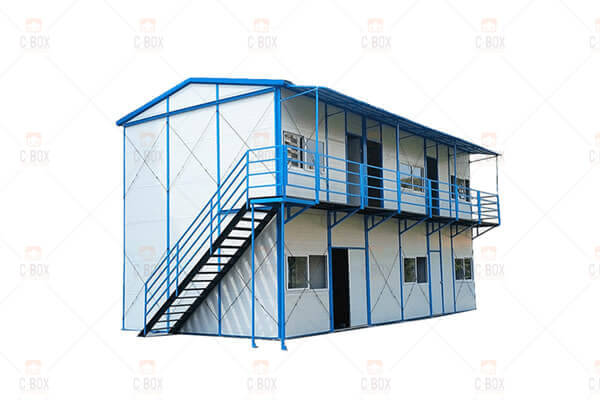
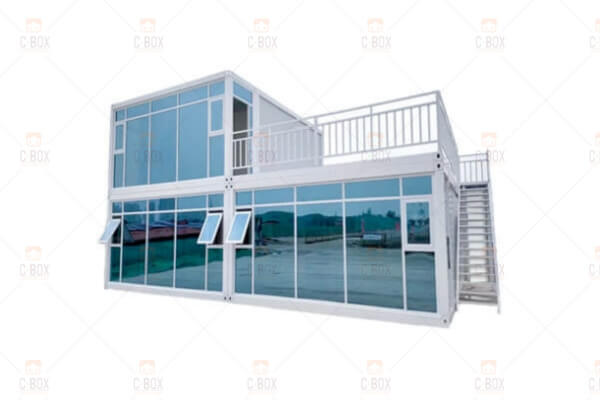
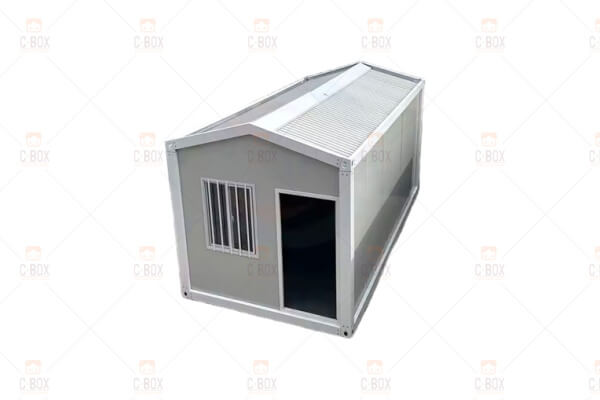
Step three involves positioning containers on the foundation to construct the office. Depending on desired size and design, one or multiple containers can be utilized. Container dimensions typically range from 5.8*2.4 meters to 6*3 meters. For transportation, containers are either pre-installed into 40HQ shipping containers (smaller in size) or transported as scattered parts (larger and numerous). Assembling options include ready-to-use containers or on-site assembly of scattered parts.
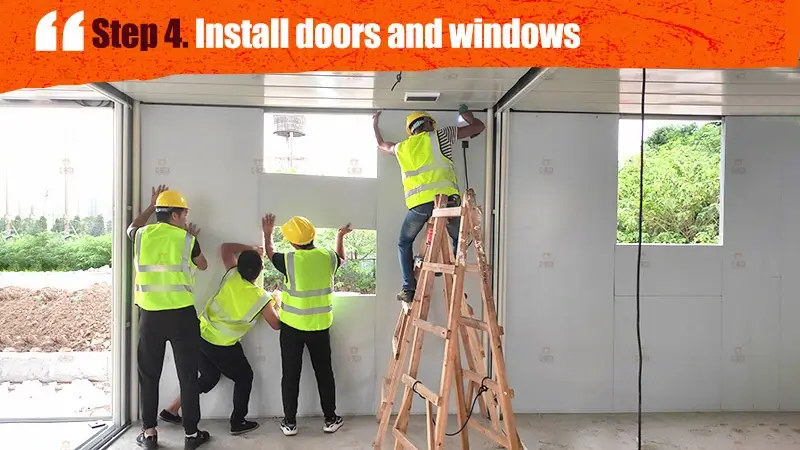
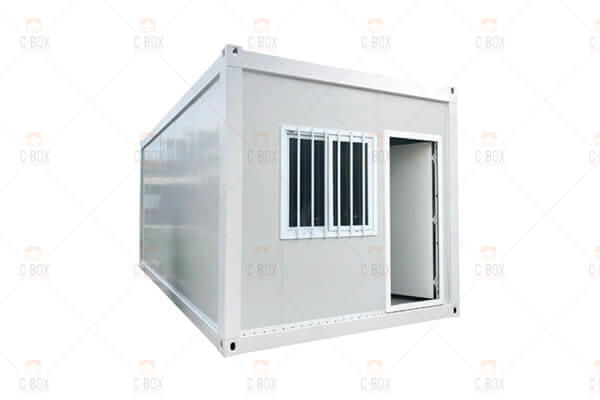
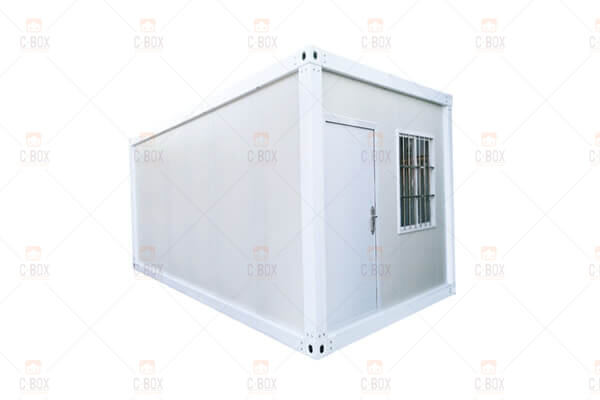
Step 4: Install doors and windows
The fourth step is to install doors and windows on the containers. You can cut openings on the sides or ends of the containers according to your design plan. You can also choose the types and styles of doors and windows that suit your preferences and needs, such as sliding doors, floor-to-ceiling windows, etc.
Doors and windows are essential for providing ventilation and lighting for your container office. They can also enhance the appearance and functionality of your container office.
Step 5: Decorate the interior
The fifth step is to decorate the interior of the office. You can install floors, ceilings, interior wall panels, etc. to make the container office more comfortable and attractive. You can also select furniture, office equipment, and decorations that match your style and taste.
You can use your creativity and imagination to create a cozy and professional office environment. You can also use eco-friendly materials and products to make your container office more sustainable.

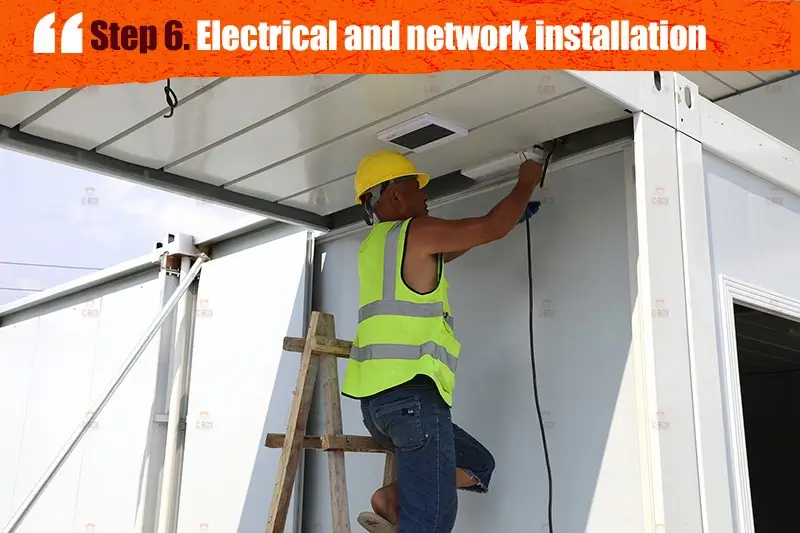
Step 6: Install electrical and network systems
The sixth step is to install electrical and network systems for the office. You can do the wiring inside the containers as needed, including sockets, lamps, communication equipment, etc. You need to ensure the safety and stability of the power and network connections and comply with the relevant electrical and network standards.
Electrical and network systems are important for providing power and internet access for your container office. They can also improve the efficiency and convenience of your work.
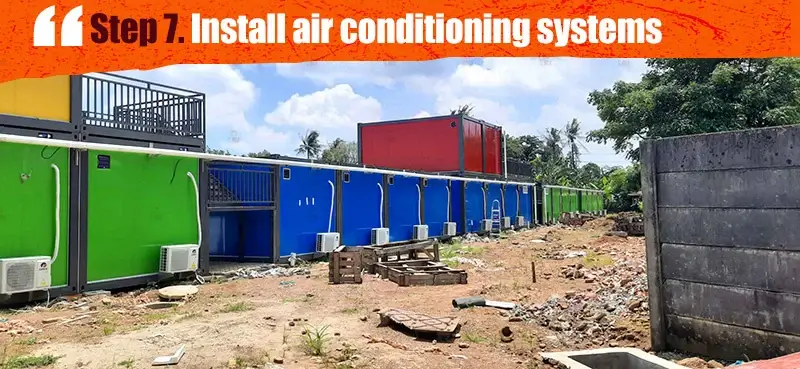
Step 7: Install air conditioning and heating systems
The seventh step is to install air conditioning and heating systems for the office. You can choose the appropriate systems according to your climate and temperature needs. You need to ensure that the systems are maintained and clean to provide comfortable and healthy air quality.

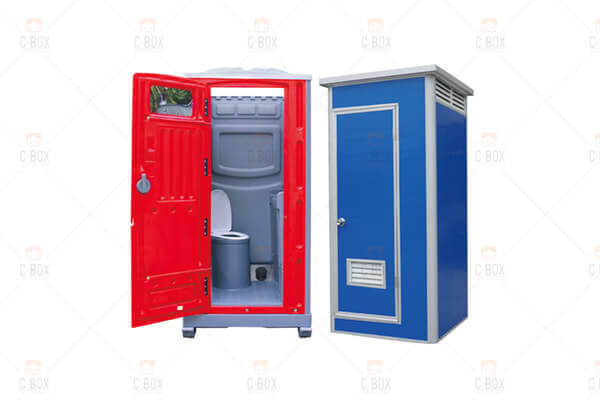
Step 8: Install water pipes and toilet facilities
The eighth step is to install water pipes and toilet facilities for the office. You can install fixtures such as sinks, toilets, showers, etc. as needed. You need to connect them to the appropriate water and drainage systems.
Water pipes and toilet facilities are important for providing water and sanitation for your container office. They can also improve the hygiene and convenience of your work.
Step 9: Install safety facilities
The ninth and final step is to install safety facilities for the office. You need to ensure that your container office is equipped with necessary safety facilities, such as emergency evacuation channels, fire extinguishers, smoke detectors, etc. You also need to follow the relevant building codes and legal requirements for your container office.
Safety facilities are important for protecting your container office from potential hazards and risks. They can also ensure the security and peace of mind of your employees and clients.
Congratulations! You have successfully built your dream container office in 9 easy steps. You can now enjoy the benefits of having a unique and modern office that is easy to build and eco-friendly.
If you need any help or advice on building a container office, you can contact us CBOX, a leading container house company that can provide you with high-quality, affordable, and customized container houses. CBOX can help you turn your dream container office into a reality.